
Request a Call Back
Enter your contact details and One of our executives will be in touch soon!
OR
Get In Touch
Please fill out the form above if you have a plan or project in mind that you'd like to share with us.
Enter your contact details and One of our executives will be in touch soon!
Please fill out the form above if you have a plan or project in mind that you'd like to share with us.
Transform your online business with conversion-focused, secure, and scalable eCommerce solutions.
Top-rated brand with 8+ years experience, 1000+ happy clients, and 50+ industries served.


We are driven by the vision to accelerate
Digital Transformation.
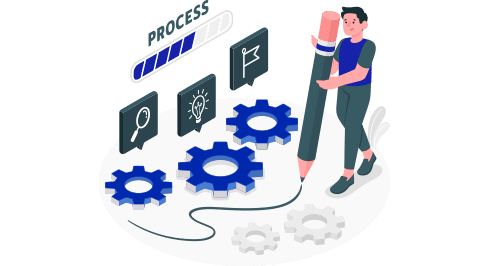
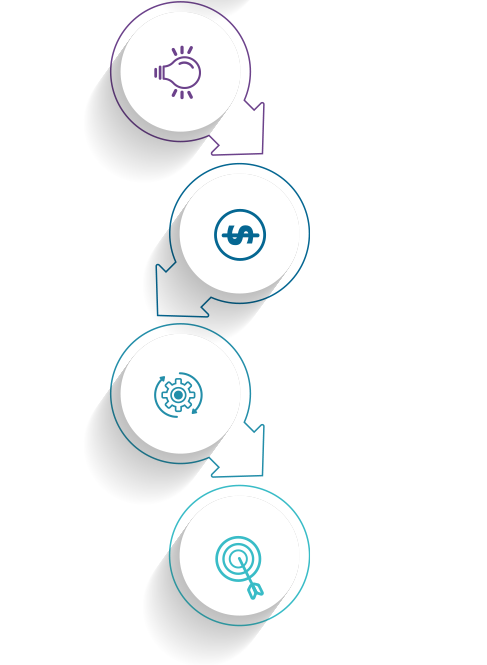
We follow a very detailed process for our work, but if you ask us to break it into simple words, it can be described as follows.
1. Understanding: We listen to you and understand about your problems and needs.
2. Creating: We monitor the need closely and create the best solution for you.
3. Delivering: We finally deliver you the best.
Want to start a new project?
Enquire NowAfter receiving your interest in our organisation, we plan our first Interaction. Our team member will have a detailed conversation on getting to know about your business and your needs.
After the approval of solution, we design the initial pages and show you the design. If any changes are required, we make the necessary changes. After your approval, we follow the design for the rest of the changes.
We share the solution and suggestions with you.

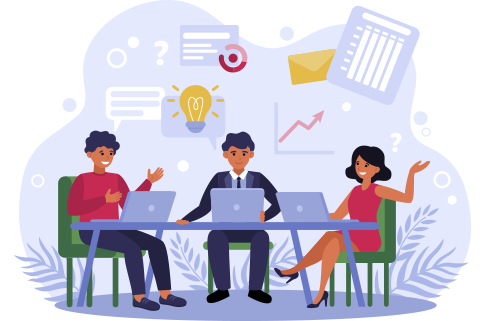
The team discusses about your business and your needs to come up with a solution.
The design layout is then converted into a working website using the best techniques.
We test the Website for any bugs or errors and fix them for a hassle-free experience.
After creating the final version, the output is shared with you for review. Final changes will be provided before the website is made live on the Internet.
The website is made live on the Internet. If other services such as, digital marketing, SEO, and so on are opted. We start working on it.
We provide a limited period support and extended support depending on the package opted for.
Understand your business, your environment and your competition
Identify what is needed in terms of content, features and design elements
The exciting bit – at the end of this process you have a completed website
Get the site operational, put it live, and setup the technology
Making your website “really” work for you in terms of traffic and sales
• Site objectives
• Target market
• Page structure
• Site tools & features
• Create framework
• Create hosting
• Create emails
• Generate rankings
• PPC for traffic
• Competitor research
• Environment research
• Keyword research
• Page & content plan
• Construct site
• Install CMS
• Add analytics
• Add tools
• Awareness
• Keep top of mind
• Sector site review
• Site strategy
• Design features
• Design site
• Enter text
• Enter images
• Check statistics
• Benchmark
• “Buzz” + branding
• Traffic/cross sales
All our sites automatically include statistics, css programming (for speed of load), a contact form (includes a google location map), subscribe facilities (if required). We ensure sites are search engine friendly. By focusing on functionality, usability and search engine optimization during the construction of your website, we maximise your business opportunities.
Want to start a new project?
Enquire NowThe creative brief sets the tone for the entire project. It's the first and arguably one of the most important steps in the visual design process.
A creative brief is a document that’s aimed to help the designer understand the scope of the project and what’s needed from them. You’ll want to include as much relevant information as possible to reduce any confusion, and as a result, back and forth.
Be sure to include the following in your brief:

Depending on the scope of the project, you’ll want to include as much valuable information in your creative brief to minimize the time spent in this step. However, it’s still extremely valuable for designers to go through the researching phase themselves to build a better understanding of the audience they’re designing for (and how to make it work for you).
The research phase of the graphic design process often involves things like:
Designers may also want to create a mood board or collection of comparable designs at this stage in order to get their ideas flowing. More on that below!
Before a designer goes full-throttle into a project, have them brainstorm some ideas and present them to you. This will minimize any frustration throughout the creative process. Don’t forget to outline this step in your creative brief!
If the project owner (who created the brief) has really strong ideas on how the final designs should look, it’s best for them to add in any relevant links or inspiration into the brief for optimal clarity.
Once the designer presents 3-5 ideas from their brainstorming session, decide on which one you want to move forward with. This will make for a smooth graphic design workflow process that gets you the best results, fast.
When determining your milestones in your creative brief, be sure to check in with designers throughout the design process. The 10/50/99 feedback process ensures that you’re checking in at the most crucial parts of a project, allowing you to give the right feedback at the right time:
Often, people will break these review rules and start giving feedback on things like colour choice or fonts at a stage where the designer has only outlined a skeleton. This is not only frustrating for the designer, it’s unproductive! Make sure to follow the above design review stages to keep your projects moving along smoothly.
The design is complete. It’s time to get the final files (and invoice if working with an external design resource) and put the designs into action. If you want to go the extra mile, ask your designer for feedback on how they found the process, what they feel could be improved or tweaked and then iterate your process. Over time, you’ll be able to scale your design process effectively.

• Brainstorming and Market Research
• Information Architecture
• Native/ Cross-platform/ Hybrid
• Test case preparation
• Finalizing Build
• App marketing strategy
• Development strategy
• Wireframing
• Backend Development
• Manual & Automated Testing
• App store submission
• App store optimization
• Mind mapping
• Style guides
• Product builds
• Functional testing
• Analytics setup
• User engagement & retention
• Concept testing
• Prototyping
• Testing & QA feedback
• Usability testing
• App store approval
• Continuous Monitoring
• Requirement gathering
• Mockups
• Iterations
• Performance and device testing
• Backend deployment
• Releasing updates & fixes
Want to start a new project?
Enquire NowAt this stage, you will collect all the information that will be required for decision making in the next stages. Information collected during the research will become your raw material to strategize & create your digital marketing campaign. This stage can also be called as Digital Marketing Research. At this stage, you will research 4 sets of information:
Be sure to include the following in your brief:
Each set is unique & equally important. You will require multiple sources to collect the information.

Once you collect information at the research stage, you can now start creating:
The research phase of the graphic design process often involves things like:
Designers may also want to create a mood board or collection of comparable designs at this stage in order to get their ideas flowing. More on that below!
After your primary digital identities are fully ready, you will start promoting them. That means you want relevant people to start coming to your primary digital identities. This is also called as generating relevant traffic. Relevant traffic is an important word here.
The more you get relevant traffic to your website, the more the conversion you can expect. Your options to promote your website/blog / app will be:
The above are also known as Digital Marketing Channels, which you need to promote your Primary Digital Identities (Website / Blog / App). There are sub-channels & networks within some of the channels mentioned above.
Which channels, subchannels, networks to go for & whether to do organic or inorganic promotions, these questions will already be answered at the Digital Marketing Strategy creation stage.

Once you create your primary digital identities & start promoting them through various digital marketing channels, it’s time to start monitoring your performance. Analysing is like looking at the outcome of your digital marketing work. You will receive analytics for your primary digital identities, as well as the channels through which you have done the promotions.
The most important & ultimate analytics for any business is the analytics of your website/blog / app. Google Analytics is widely popular to generate analytics of your primary digital identities. The 4 major sections of Google Analytics are:
At this stage, based on analysis & observations, you start making changes (fine-tuning). The changes could be in your primary digital identities or digital marketing channels. Changes are also referred to as content & design of your identities & promotional communication.


 React JS Development
 Node JS Development
 Angular JS Development
 About Us
 Sister Companies
 Our Co-founders